一.写在前面
OpenCV (Open Source Computer Vision Library) is an open source computer vision and machine learning software library. OpenCV was built to provide a common infrastructure for computer vision applications and to accelerate the use of machine perception in the commercial products. Being a BSD-licensed product, OpenCV makes it easy for businesses to utilize and modify the code.
以前用Python参考几个博客和买的一本书玩了一阵子OpenCV,后来就撂下了,最近打算重新拾起系统的学习一下OpenCV。但是这次学习不用Python语言了,改用C++。毕竟C++比Python效率不知道高到哪里去!
二.开始行动
1.去官网下载
这里我选择 * OpenCV – 3.4.6 的Windows版本,因为我的开发环境是Windows 10 + VS2017
下载龟速(FQ可提速)
下载完成后解压(这里我就解压到C://)

那么接下来怎么操作呢?参考CSDN博主???NO!
你这样写,他那样写,按谁的呢?
那么为什么不按照官方教程呢?https://docs.opencv.org/master/dd/d6e/tutorial_windows_visual_studio_opencv.html
2.配置VS2017环境
就按照上面官网给的方法配置即可,我就不在此赘述了。
3.测试
拿官方的测试例子(简单修改)
#include <opencv2/core.hpp>
#include <opencv2/imgcodecs.hpp>
#include <opencv2/highgui.hpp>
#include <iostream>
using namespace cv;
using namespace std;

int main()
{
	Mat image = imread("D:/go.png", IMREAD_COLOR); // Read the file
	if (image.empty()) // Check for invalid input
	{
		cout << "Could not open or find the image" << std::endl;
		return -1;
	}
	namedWindow("Display window", WINDOW_AUTOSIZE); // Create a window for display.
	imshow("Display window", image); // Show our image inside it.
	waitKey(0); // Wait for a keystroke in the window
	return 0;
}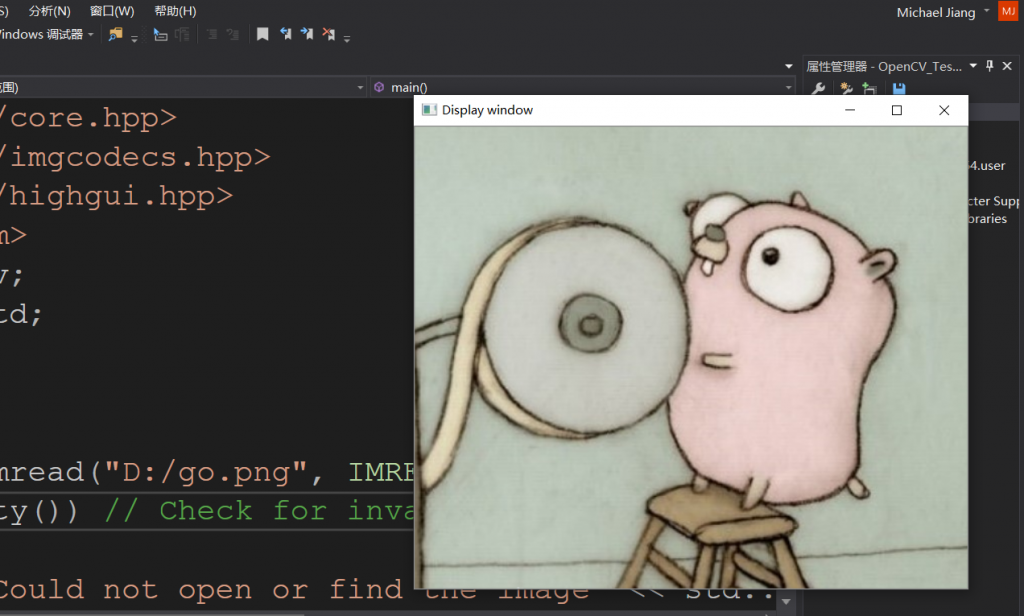
没毛病。